|
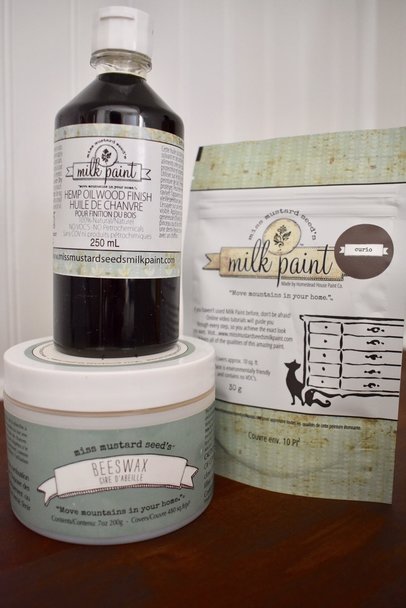
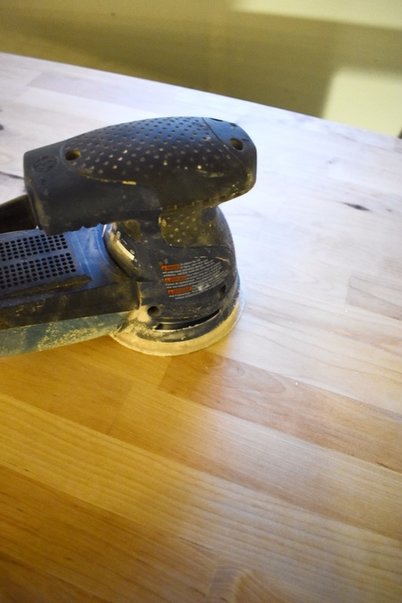
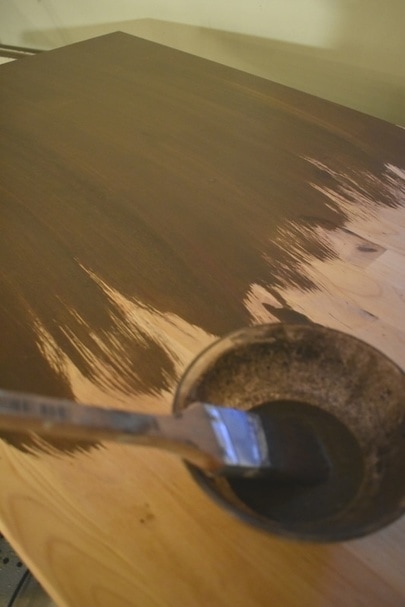
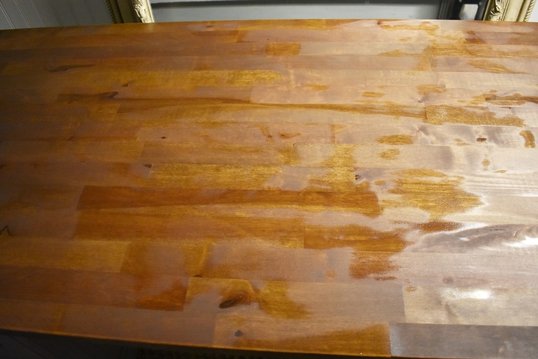
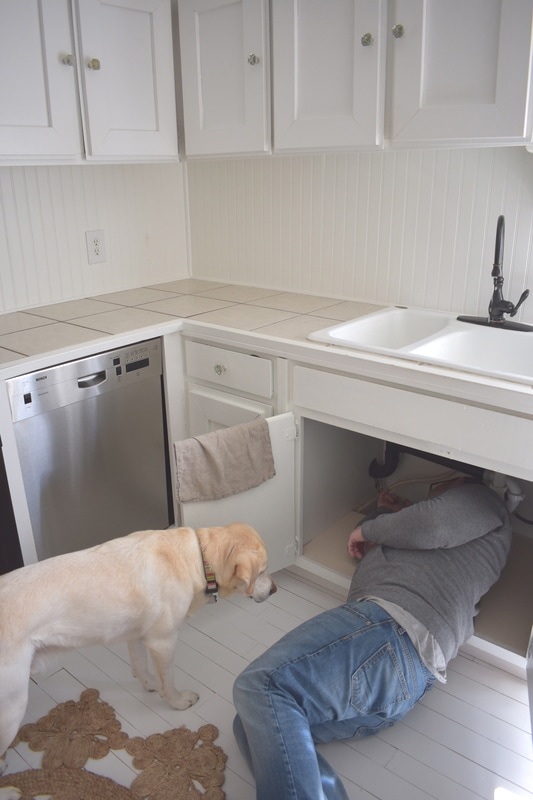
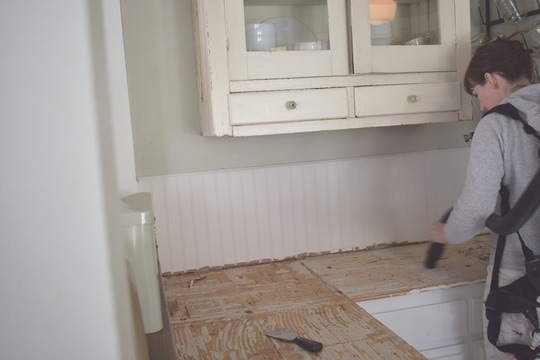
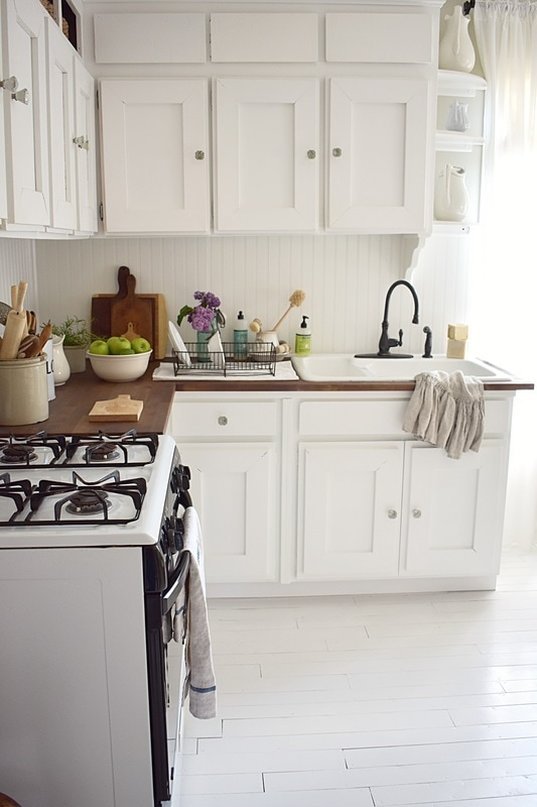
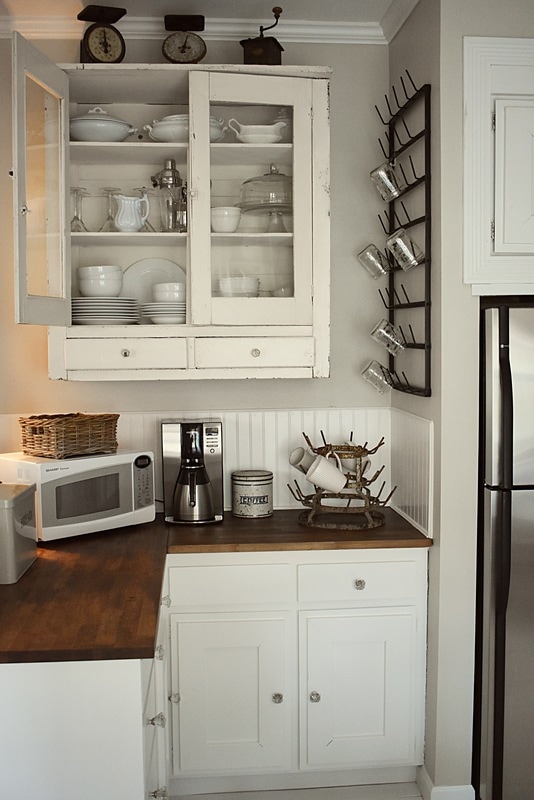
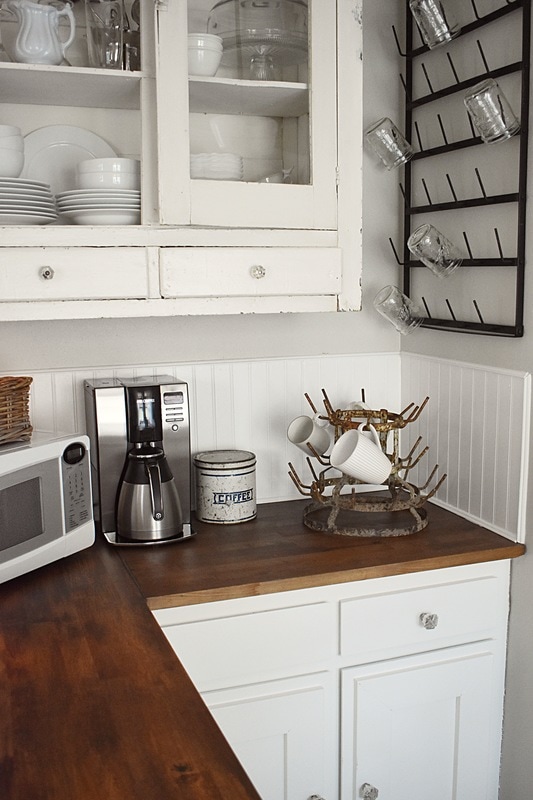
I planned on having this post up a few weeks ago but we hit some setbacks with the plumbing under the sink and the sudden loss of our precious yellow lab (Max) at the old age of 13. After almost 4 weeks, I am happy to report that it's finally done and I hope you are inspired to try your hand at this DIY if it is a project you have been wanting to tackle. Not only is it pretty easy to accomplish for 2 people, but it's also very cost effective and the results are truly beautiful! The first step is to choose the type of butcher block you want. There are so many options. We wanted a budget friendly option and that's why we went with one from Ikea. They do have a variety of options, including ones that are not solid wood. We knew we wanted solid wood and so we decided on the Hammarp Birch Butcher Block from Ikea. I wanted to stain it but I wanted to use only natural, food safe products and my biggest roadblock was finding a food safe option. After days of endless searching with no results, I was pretty frustrated! Then, out of nowhere, it hit me, Miss Mustard Seed Milkpaint! Yes, I could stain and finish the butcher block counters using only her products! I had some Curio on hand (which is the only brown in her line) which I used as my stain and ordered some all natural hemp oil and beeswax to use as my sealers. First we measured where the counters were going. Make sure you do this a few times to make sure your measurements are accurate! We made our cuts on a table saw and I proceded to sand the butcher block with my trusty palm sander (starting with 80 grit and working my way up to 220 grit) to get a nice smooth finish. Once the pieces were all sanded and wiped down I started staining with the milk paint. I wanted the counters to be on the darker side so I mixed my paint a little thicker. I then painted it on, waited a few seconds and wiped off the excess paint with a clean rag. I ended up with a beautiful warm brown and it was perfect! Once I was done staining all the counters, I let them dry overnight. The photo below shows the paint on before being wiped off. The next day, it was time to seal the counters. I started by adding a coat of hemp oil with a brush. You can also use your hands, it makes for a nice hand moisturizing treatment! I ended up doing 3 coats total on each counter. Just make sure you wipe up any excess oil that didn't soak in after a few hours. As you can see below, the oil is almost completely absorbed. This wood was thirsty! Now comes the fun part, installation! But, before we could do that, we had to get rid of the old tile counters. Easier said than done! It took us 2 days! Here you can see hubby and his handy helper Rocky unhooking the water so we could remove the sink. After we bashed out all the tile I vacuumed the mess off the plywood so we could unscrew and remove it. Once the plywood was off we were ready to bring up and install the new counters. Make sure you follow manufacture instructions on installation. I added one coat of beeswax with a rag and buffed it to a shine. Here it is all completed….. I can tell you that after about a week of using the counters that I am pleasantly surprised at how well they are holding up especially to accidental water spills! So, if you are in the market for butcher block counters and using non toxic, natural products, give Miss Mustard Seed Milkpaint a try!
xo Rene'
7 Comments
|
RenéA South African native now living in the Pacific Northwest. You'll often find her decorating, playing with flowers or tackling a house project with her husband. She has a passion for French Country style and is slowly transforming her 1920's cottage with her husband one project at a time. If she's not in the house you'll find her outside puttering around in the garden.
Archives
May 2022
|

 RSS Feed