|
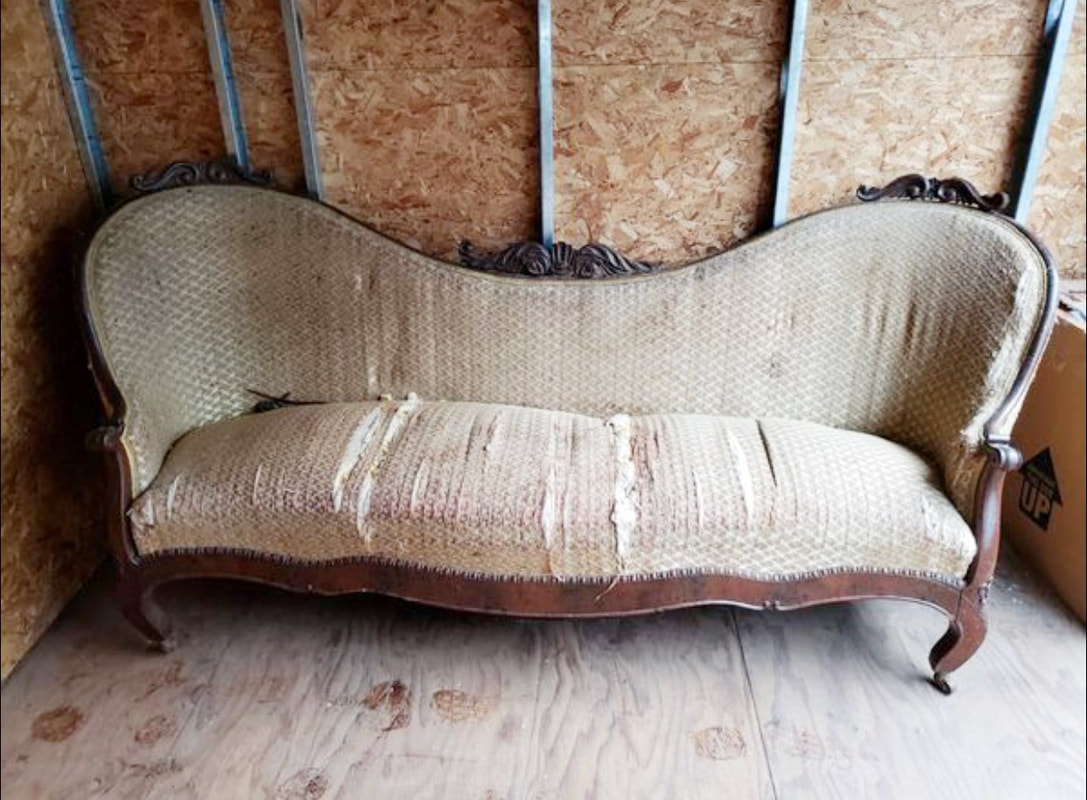
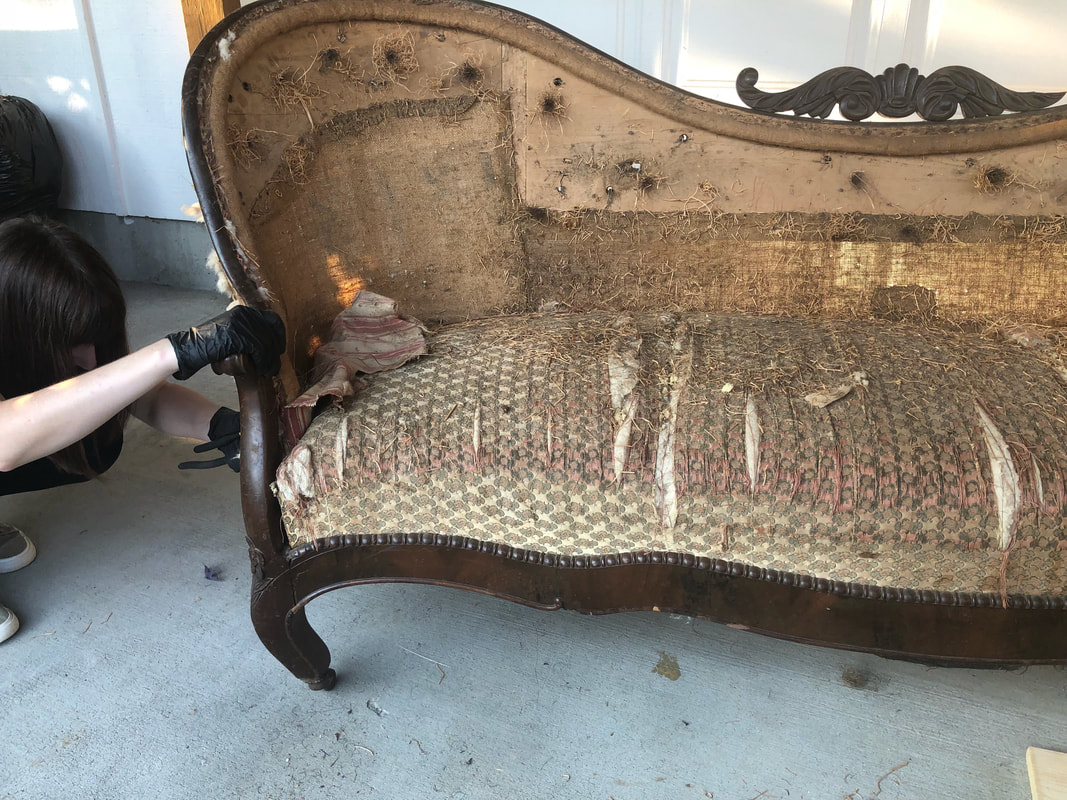
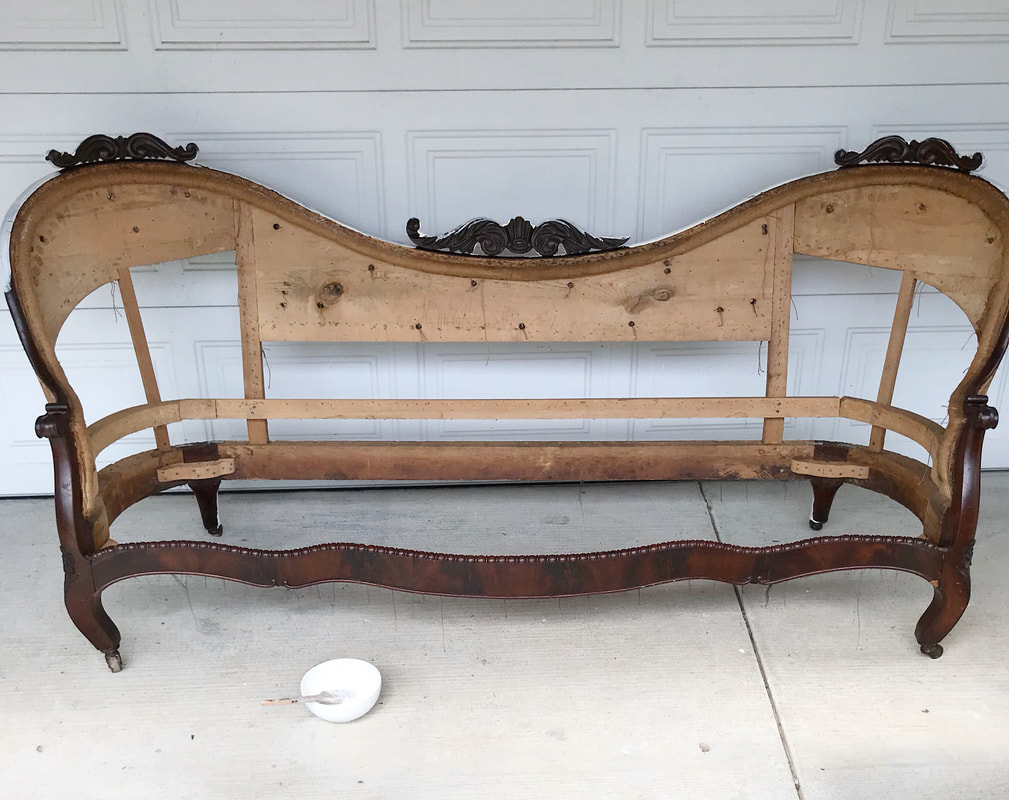
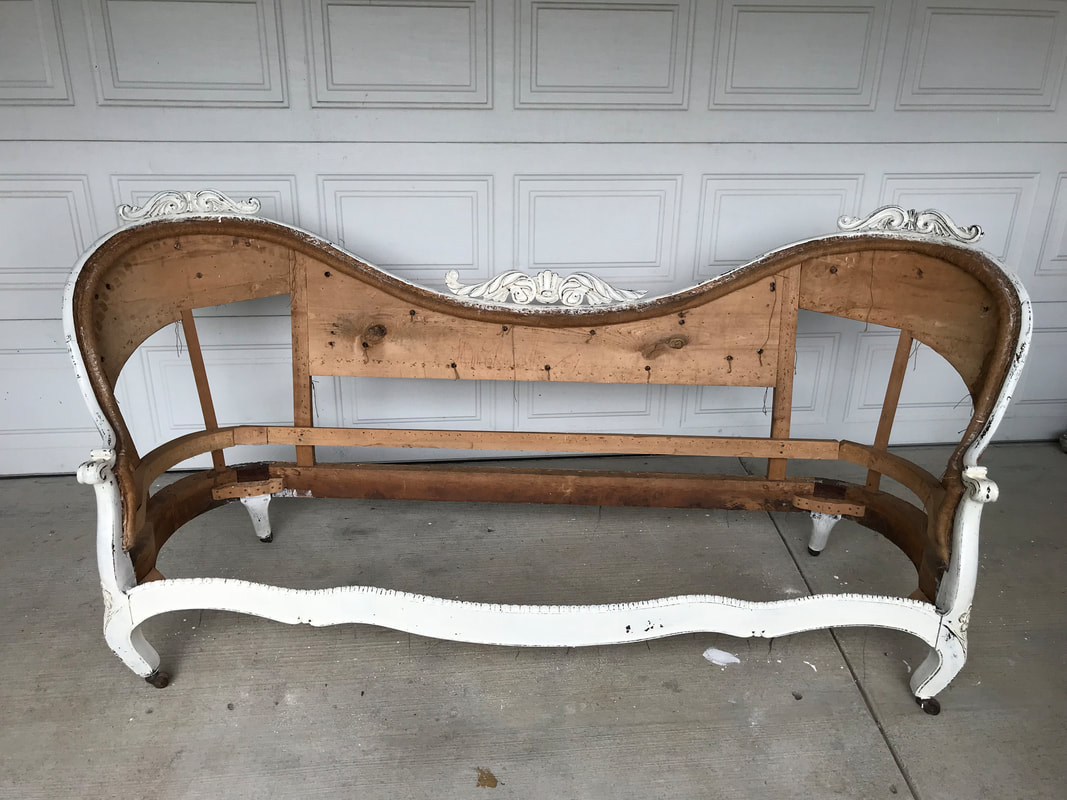
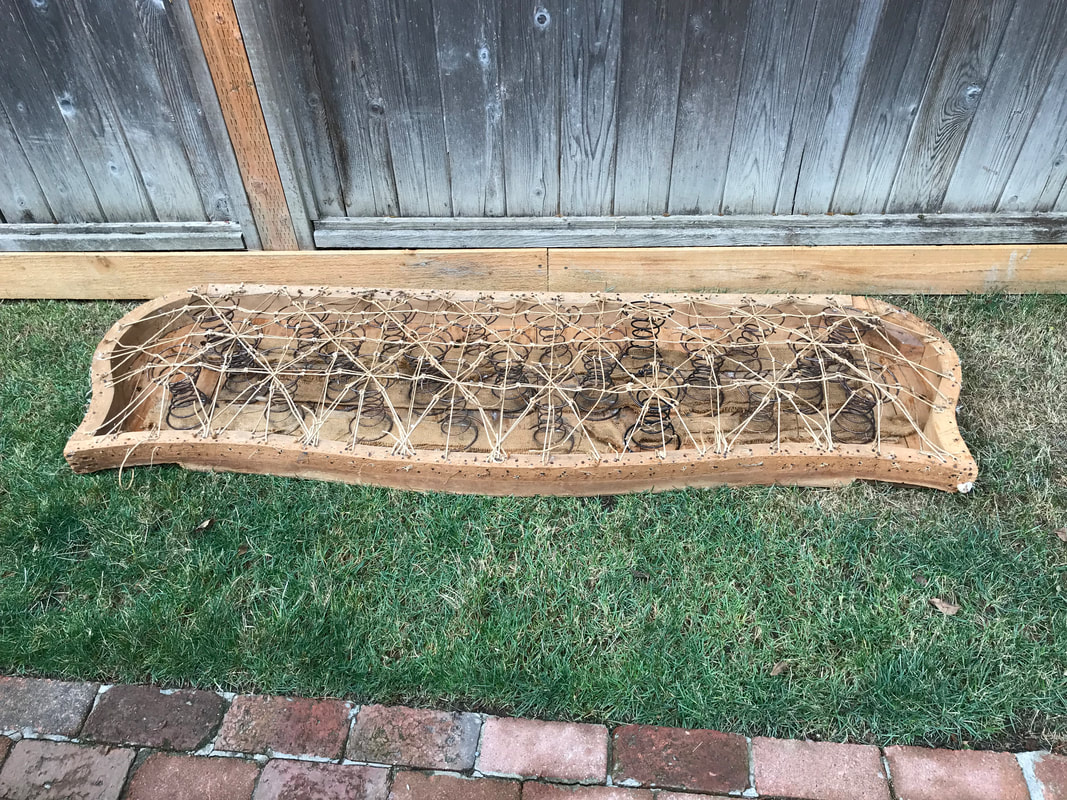
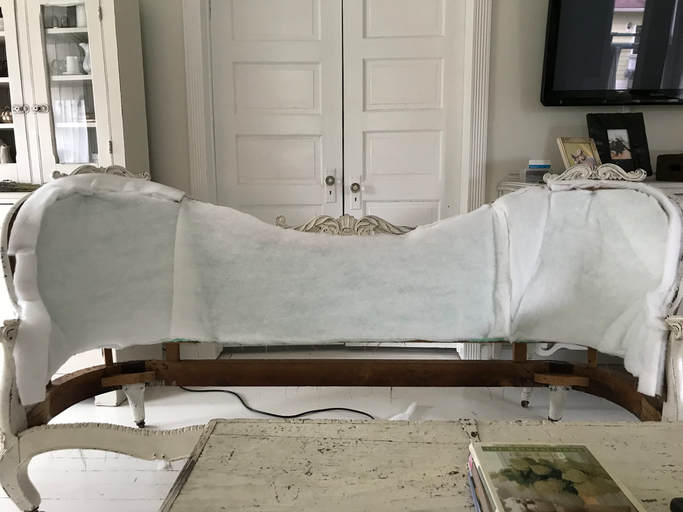
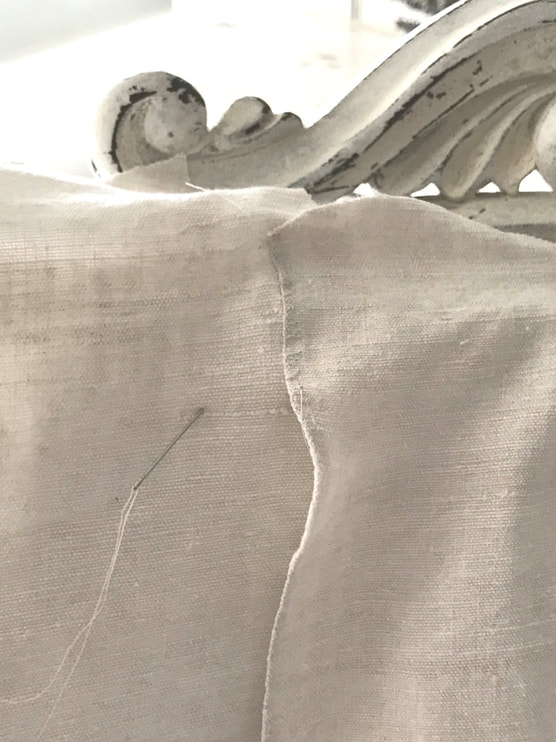
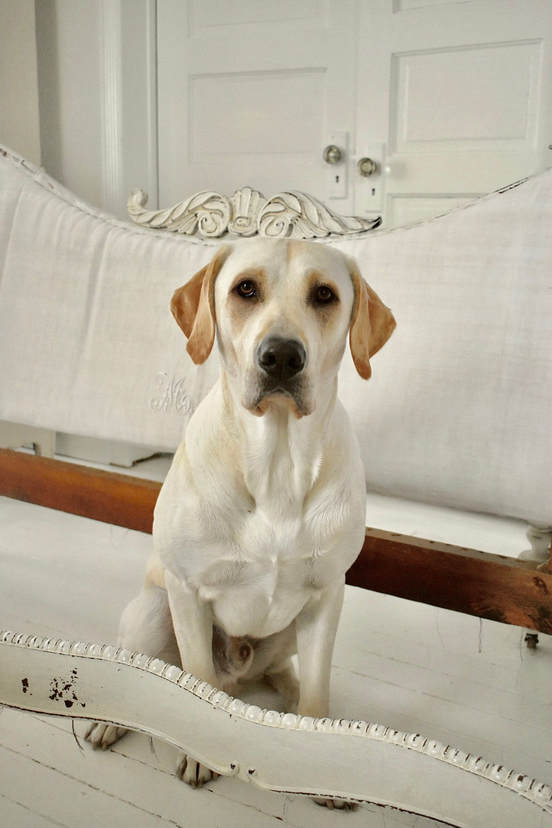
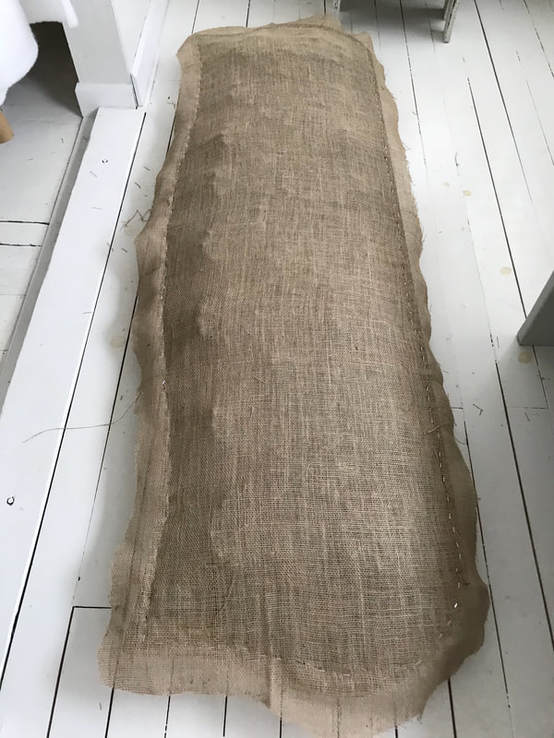
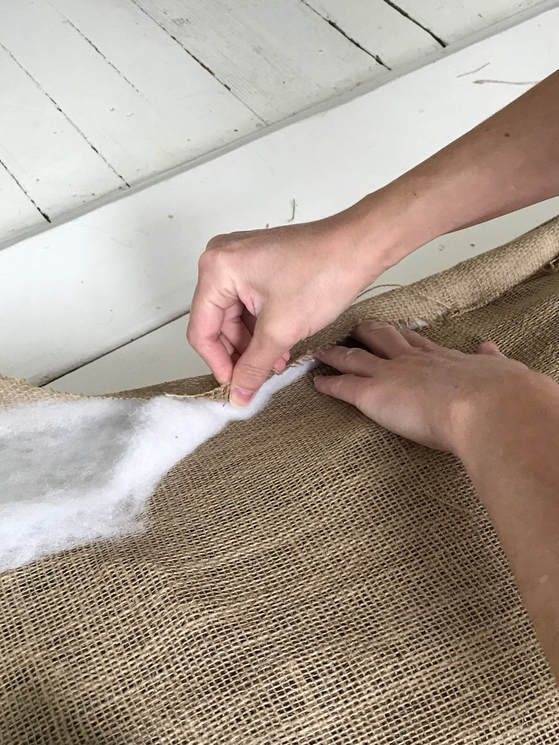
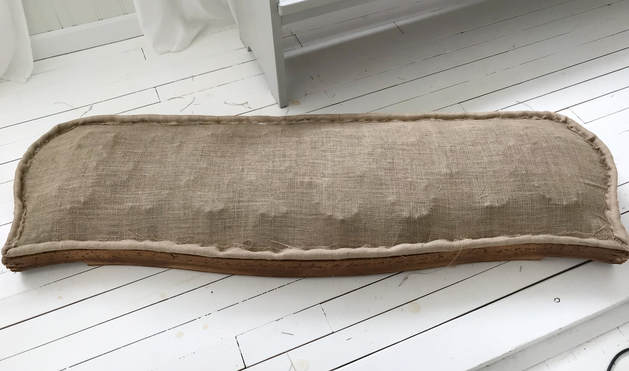
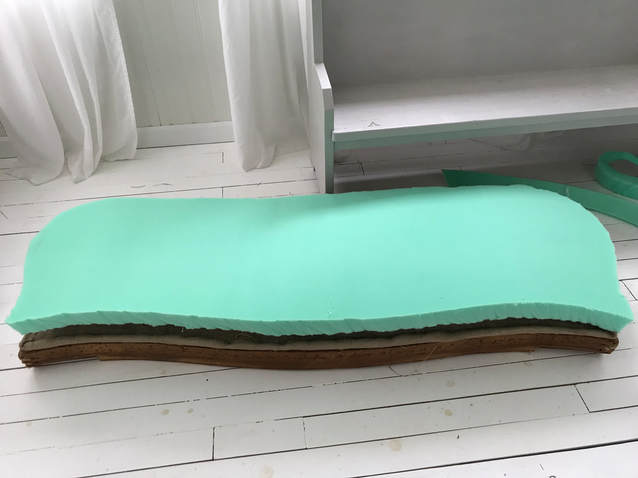
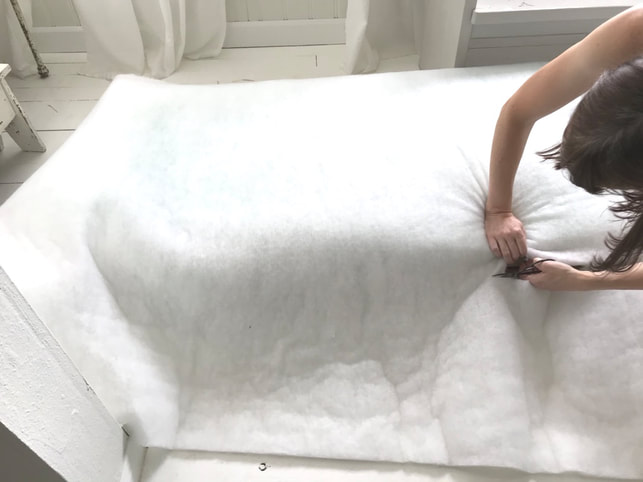
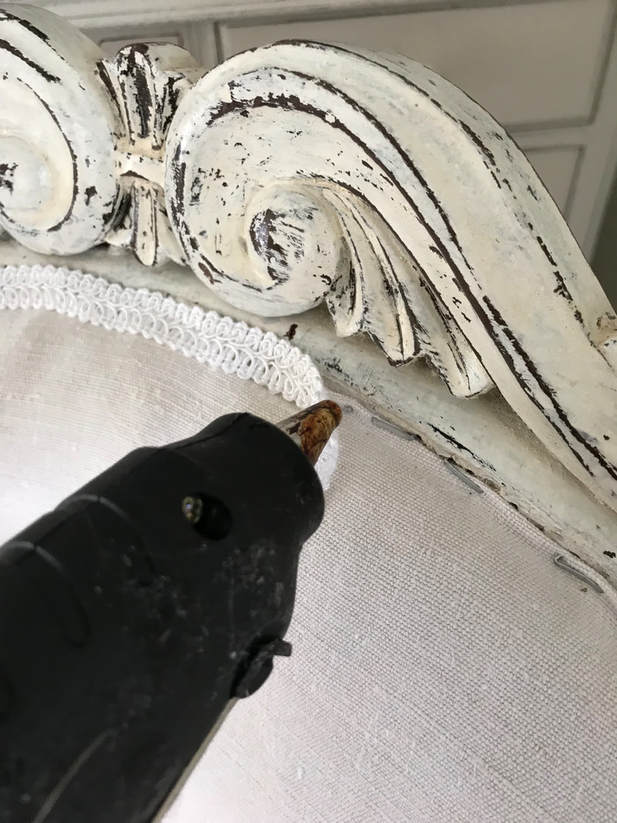
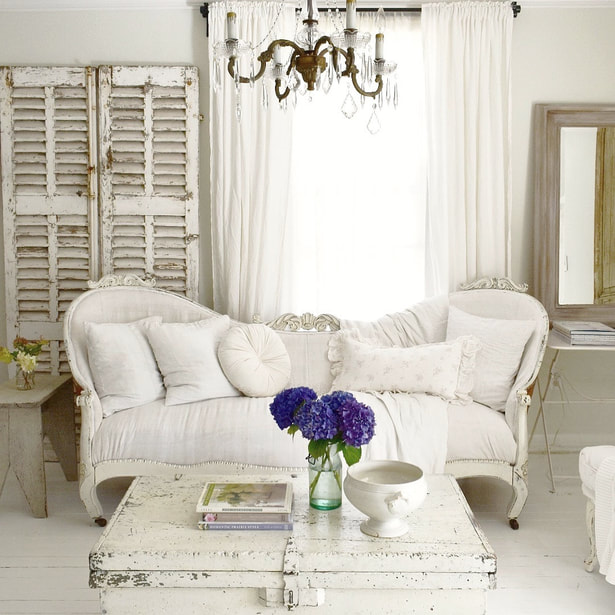
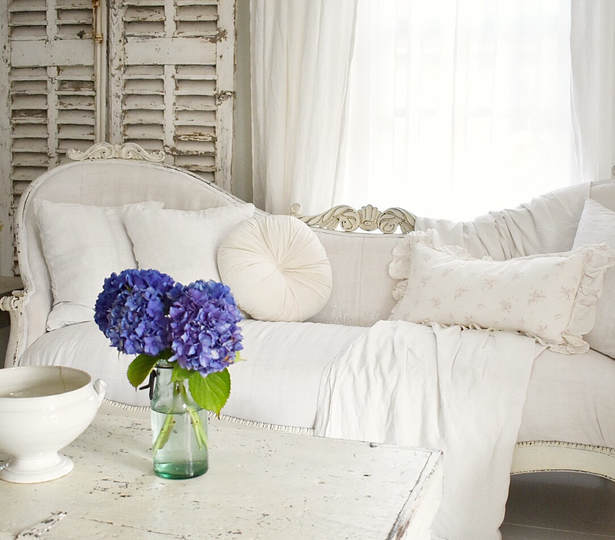
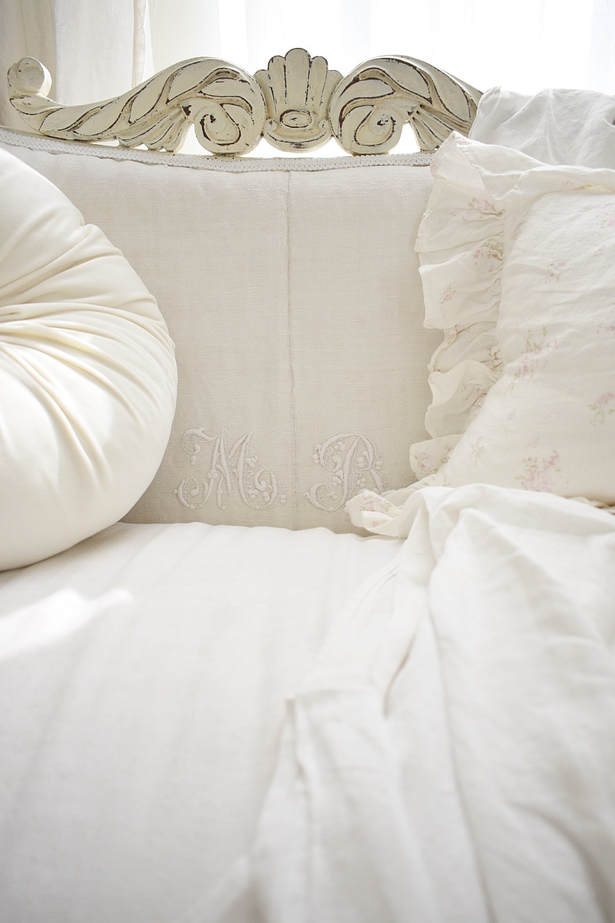
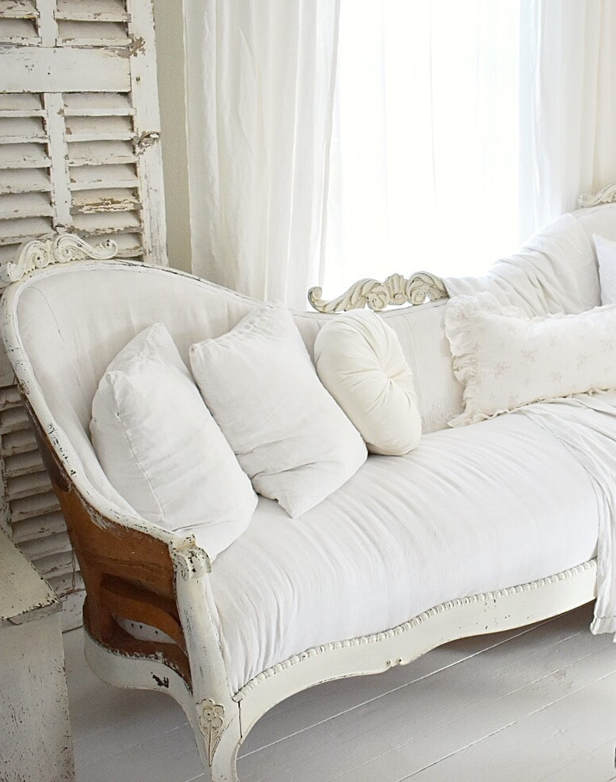
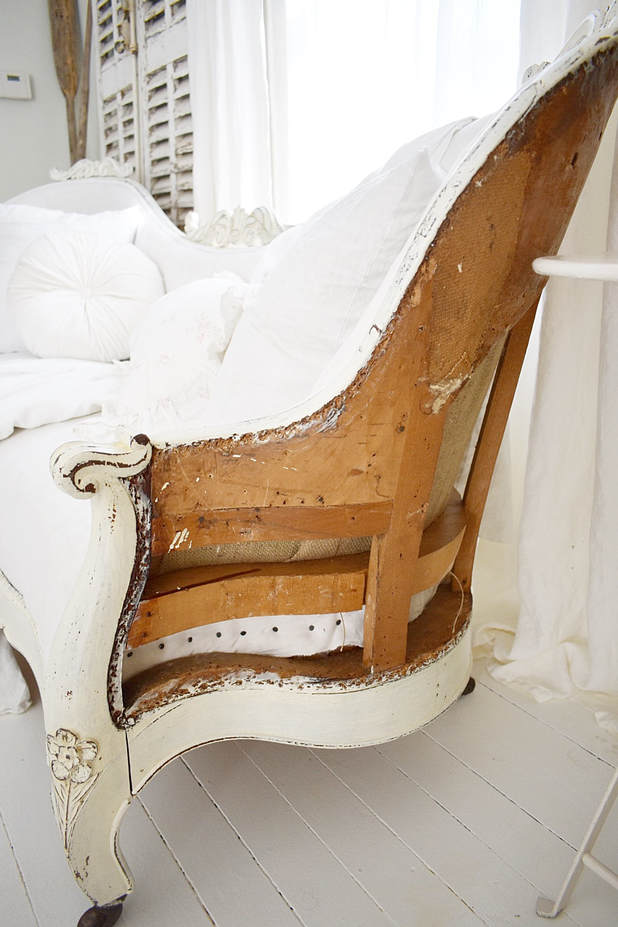
You know when you see something on craigslist and your heart skips a beat and you want it so bad that you can't type fast enough because you think that everyone else in the world wants it too and someone is going to beat you to it? Well, that's how I felt when I saw this Victorian sofa! Yes, I know she's grungy looking but all I saw was potential! Those curves and the wood details had me mesmerized. It took a few days for the seller to get back to me, which was torture, but it all melted away when she finally pinged me back. Here is her mugshot from the seller.... Once I had her home, it took me a few days to gain the courage to start taking her apart. Partly because she was really stinky and dirty and I didn't know what I would find, but mostly because I knew the hard work and pain that was ahead of me. I had already purchased a French antique hemp sheet specifically for this sofa and, since she had arrived, I had no more excuses. Time to get down and dirty! With my flat-head screwdriver and plyers in hand, I started to rip away the fabric. As I peeled away the layers of fabric, cotton batting and horse hair I was overwhelmed by plumes of dust and stink. I knew right away that everything would have to go! Astonishingly, I filled our big trash can to the top and an additional 2 huge garbage bags plum full. It took a few days of chipping away at the body to get it completely stripped and free of tacks. I was pleasantly surprised when I found square-head nails holding the frame in place! I am guessing it to be from the 1890's. Here she is! At this stage, she is bare, cleaned and ready for paint! I love me some chippy painted goodness, so I went with my favorite go-to paint, Miss Mustard Seed Milk Paint. I used 1 part Linen and 1 part Ironstone. Before After ;If you're wondering about the seat, here it is! After taking off all the fabric, stuffing and burlap; I laid her outside in the sun for a few days to air out. Storage and age had not been kind to this sweet old lady and she suffered from a bit of an old musty smell. Lucky for me, her springs were all intact and tight so I didn't have to do any repairs there. 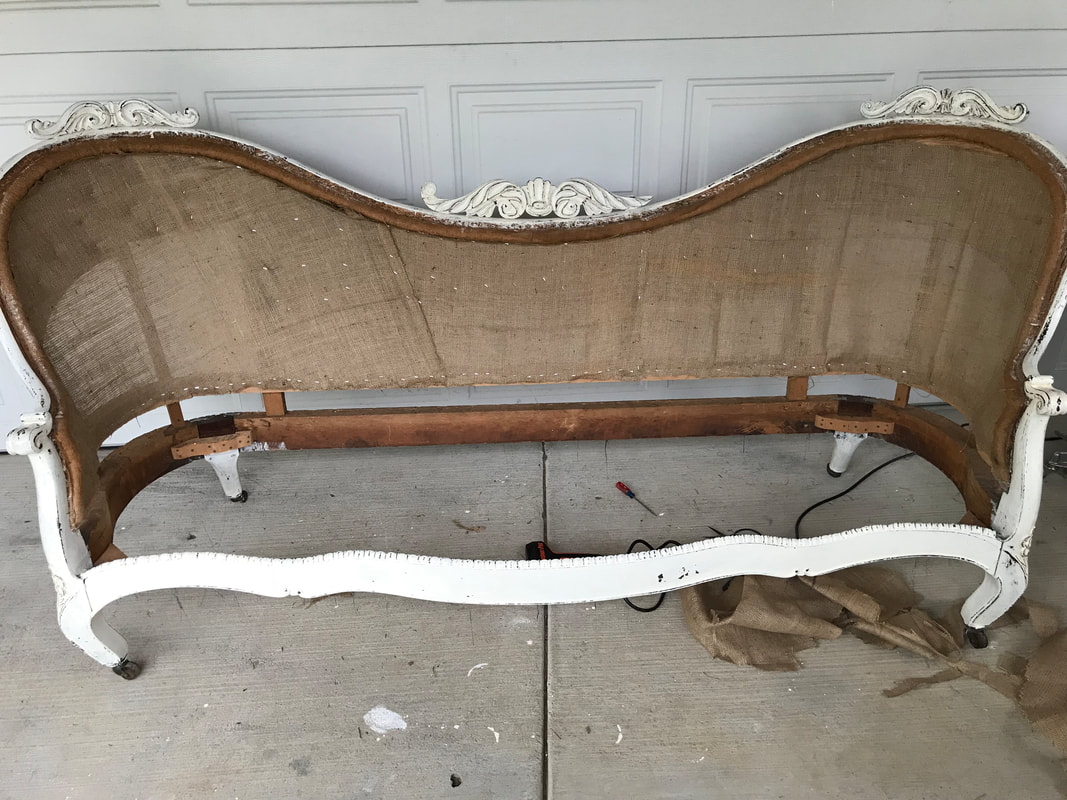 After her paint job I replaced the back with new burlap. Then it was time to bring her inside and do the fun part, or so I thought. Putting her back together was probably the most painstaking and painful part of her makeover. Lets just say that after way too many jabs, stabs, burns (hot glue gun), a stiff back and sore knees, this gal was exhausted and in a lot of pain! I am so glad that she is finally done! But I digress! Lets get back to the process, shall we? I bought my foam, batting and burlap from JoAnn's. They have everything you need for a project like this and always have great coupons! For the back, I used 1/2" foam which I stapled into place. 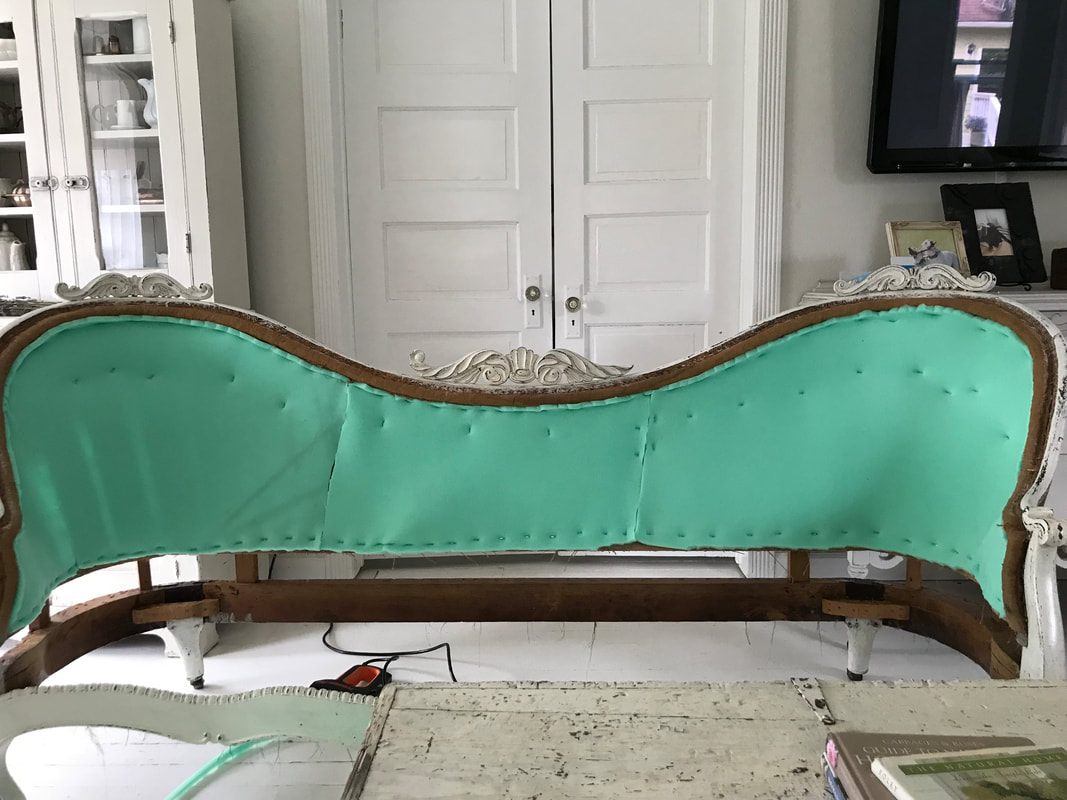 And then put batting over the top. My French sheet had a gorgeous monogram that I wanted centered on the front back of the sofa. Because of where the monogram was located on the sheet, I didn't have enough fabric to cover the length of the back. To remedy this problem, I had to hand sew enough fabric on each side to cover the entire couch, ouch! My poor fingers were so numb afterwards! let's just say hemp sheet is some tough fabric to wrestle a needle through! After I had the new fabric in place on the front backside, I called it a night and my pup George did the cutest pose! Don't you think he matches it perfectly? After a good nights rest, I was eager to get back to it and get this baby done! I was planning on covering the back of the sofa as well but I didn't have enough fabric, so I left it deconstructed and I must say I'm loving it. Yay for happy accidents! Here's the seat covered in new burlap. Most antique sofas have an edge roll. I had never done one before so I winged it and here is my first attempt. Not too pretty but it serves its purpose, I guess? I traced out my foam and then cut it with a knife. Perfect fit! After the foam and batting was in place, I stapled my fabric on as tight as I could get it. With all the hard work behind me just one last step, gimp! Are you anxious to see her yet? Ok, you've waited long enough...... So, what do ya think? She is my biggest upholstery project to date and probably my favorite! I hope you enjoyed the post and that you will look twice before passing by a neglected piece of furniture!
XO Rene
13 Comments
Buffy T
1/4/2019 09:18:00 am
Reply
Rene
1/4/2019 01:51:39 pm
Thanks so much Buffy! I’m really so happy to hear you enjoyed the blog post and that it inspired you! That is exactly what I want visitors to experience when visiting my blog. Wishing you a happy new year!
Reply
Lori Merrill
4/25/2019 07:12:09 pm
Very cool! It turned out awesome. Thank you for sharing! Lori
Reply
Rene
4/26/2019 12:06:46 am
Thank you Lori!
Reply
Brenda Chambers
5/12/2019 04:22:27 pm
Beautiful.
Reply
Wow! I LOVE everything about this piece … I am so wanting to re-upholster a wonderful vintage chair that belonged to my MIL ~ seems it had been hidden in their stored things. Your choices are now my goals ~ all the way down to the de-constructed back! It is obvious that you have studied and know the style. Love everything about this, and really appreciate the “step-by-steps!” Thanks, Rene!
Reply
Ardith
5/12/2019 05:47:29 pm
This lovely took some serious DIY skills and sheer tenacity. Well done you. Cheers, Ardith (via Little Farmstead)
Reply
Cindy D
5/13/2019 10:18:45 am
Thank you for this tutorial. I had done a slipcover for a wing chair and am ready to conquer another piece. I was thinking of re-upholstering a slipper chair or something similar. But this is gorgeous. You did a lovely job. Thanks for the inspiration. I pinned it. :)
Reply
Eeek! I am squealing over here with delight...it's GORGEOUS! What an amazing makeover! I would like to invite you to link up with us over at the Thursday Favorite Things link party this week! You can find the party on my blog at 9:00 a.m. EST Thurs.-Sat. at midnight. Of course you are welcome to share any other posts too.
Reply
Karen
6/1/2019 08:42:21 am
Oh.My.Goodness!! What a beautiful sofa! You worked a miracle on it! Can you tell us the process of how you painted the sofa to get that gorgeous chippy look? I love every square inch of it! Thank you for sharing!
Reply
René
12/5/2022 10:55:59 am
Hi Ann, I appreciate your comment and so glad to hear that you are inspired! These old pieces are so worth the investment. My sofa is now a few years old and still holding up well!
Reply
Leave a Reply. |
RenéA South African native now living in the Pacific Northwest. You'll often find her decorating, playing with flowers or tackling a house project with her husband. She has a passion for French Country style and is slowly transforming her 1920's cottage with her husband one project at a time. If she's not in the house you'll find her outside puttering around in the garden.
Archives
May 2022
|

 RSS Feed